Viz Pro Manual
Contents
Materials
In Viz Pro it’s possible to create much more complex materials than the standard SketchUp materials. It’s possible, for example, to blend images files, materials imported from SketchUp and procedural textures all together in one material.
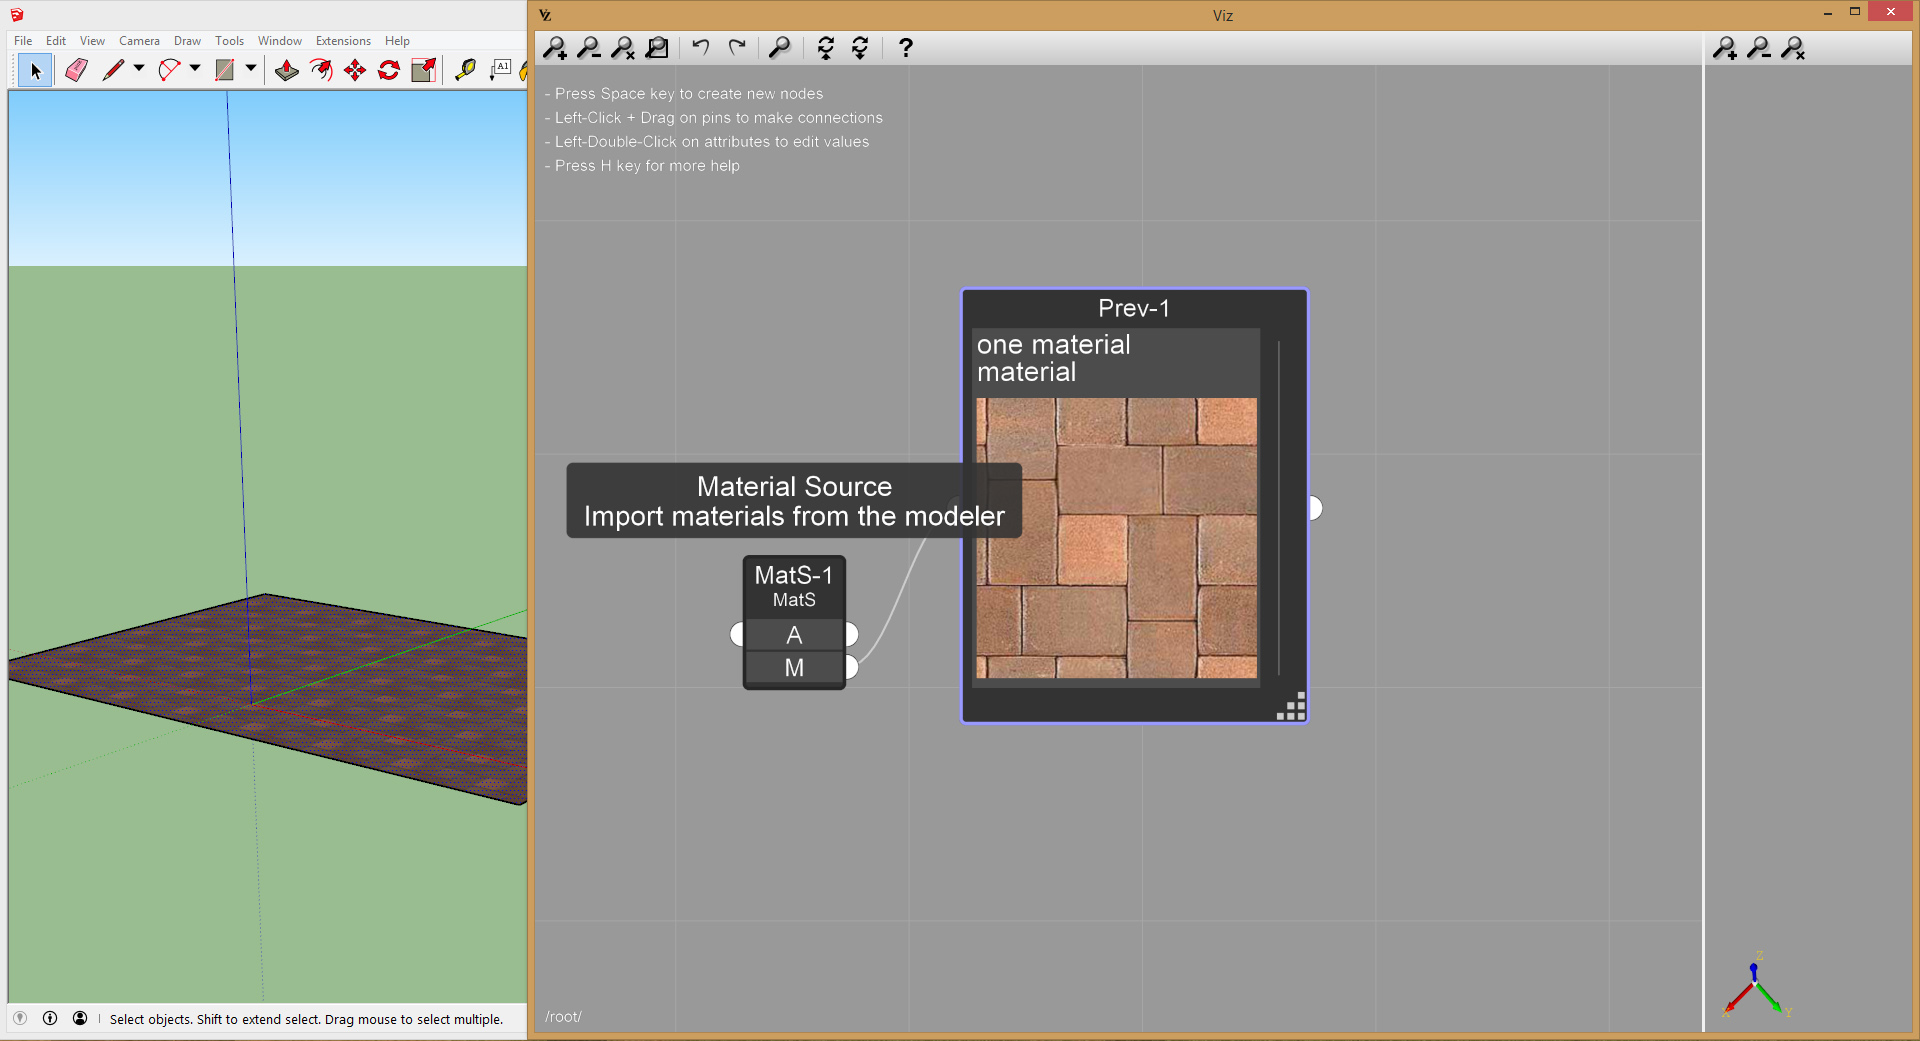
- Use a Material Source node to import the material assigned to an entity into Viz:
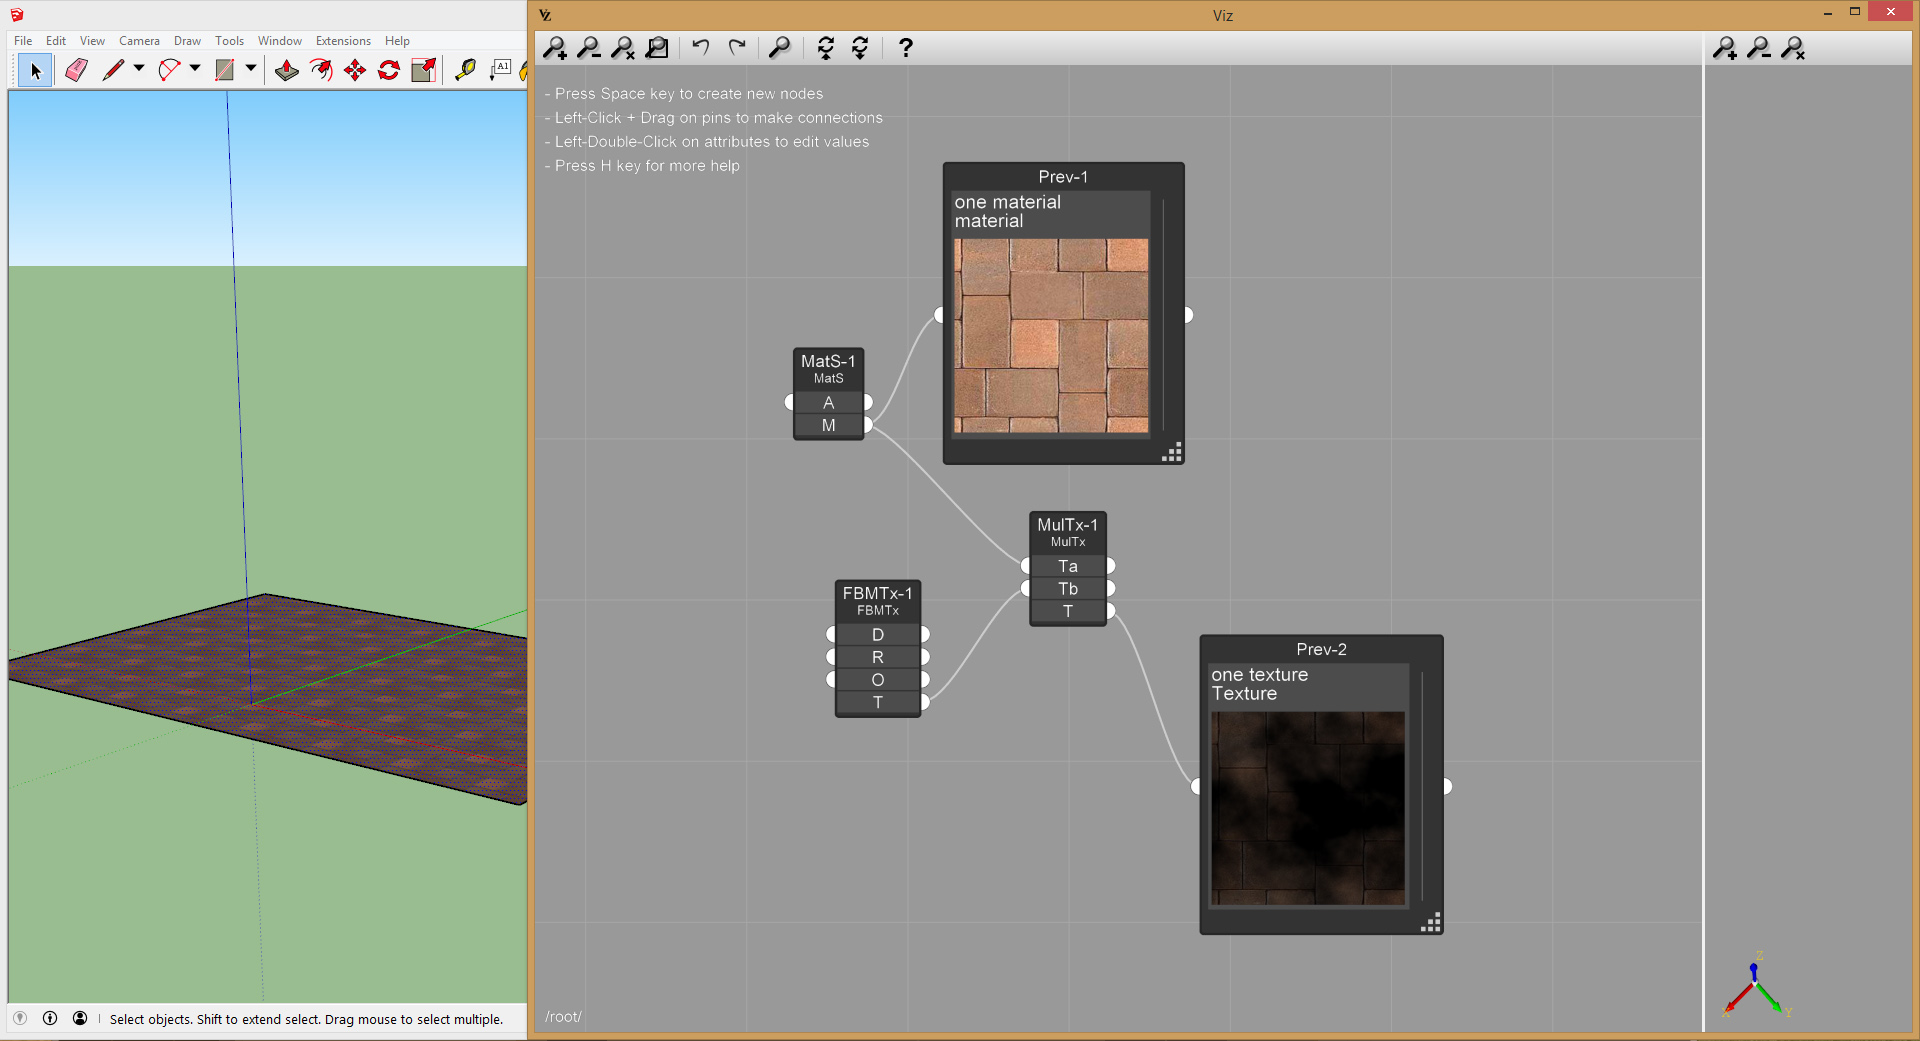
- Create a FBM Texture node for procedural noise and a Multiply Texture node, to add some variation to the original material:
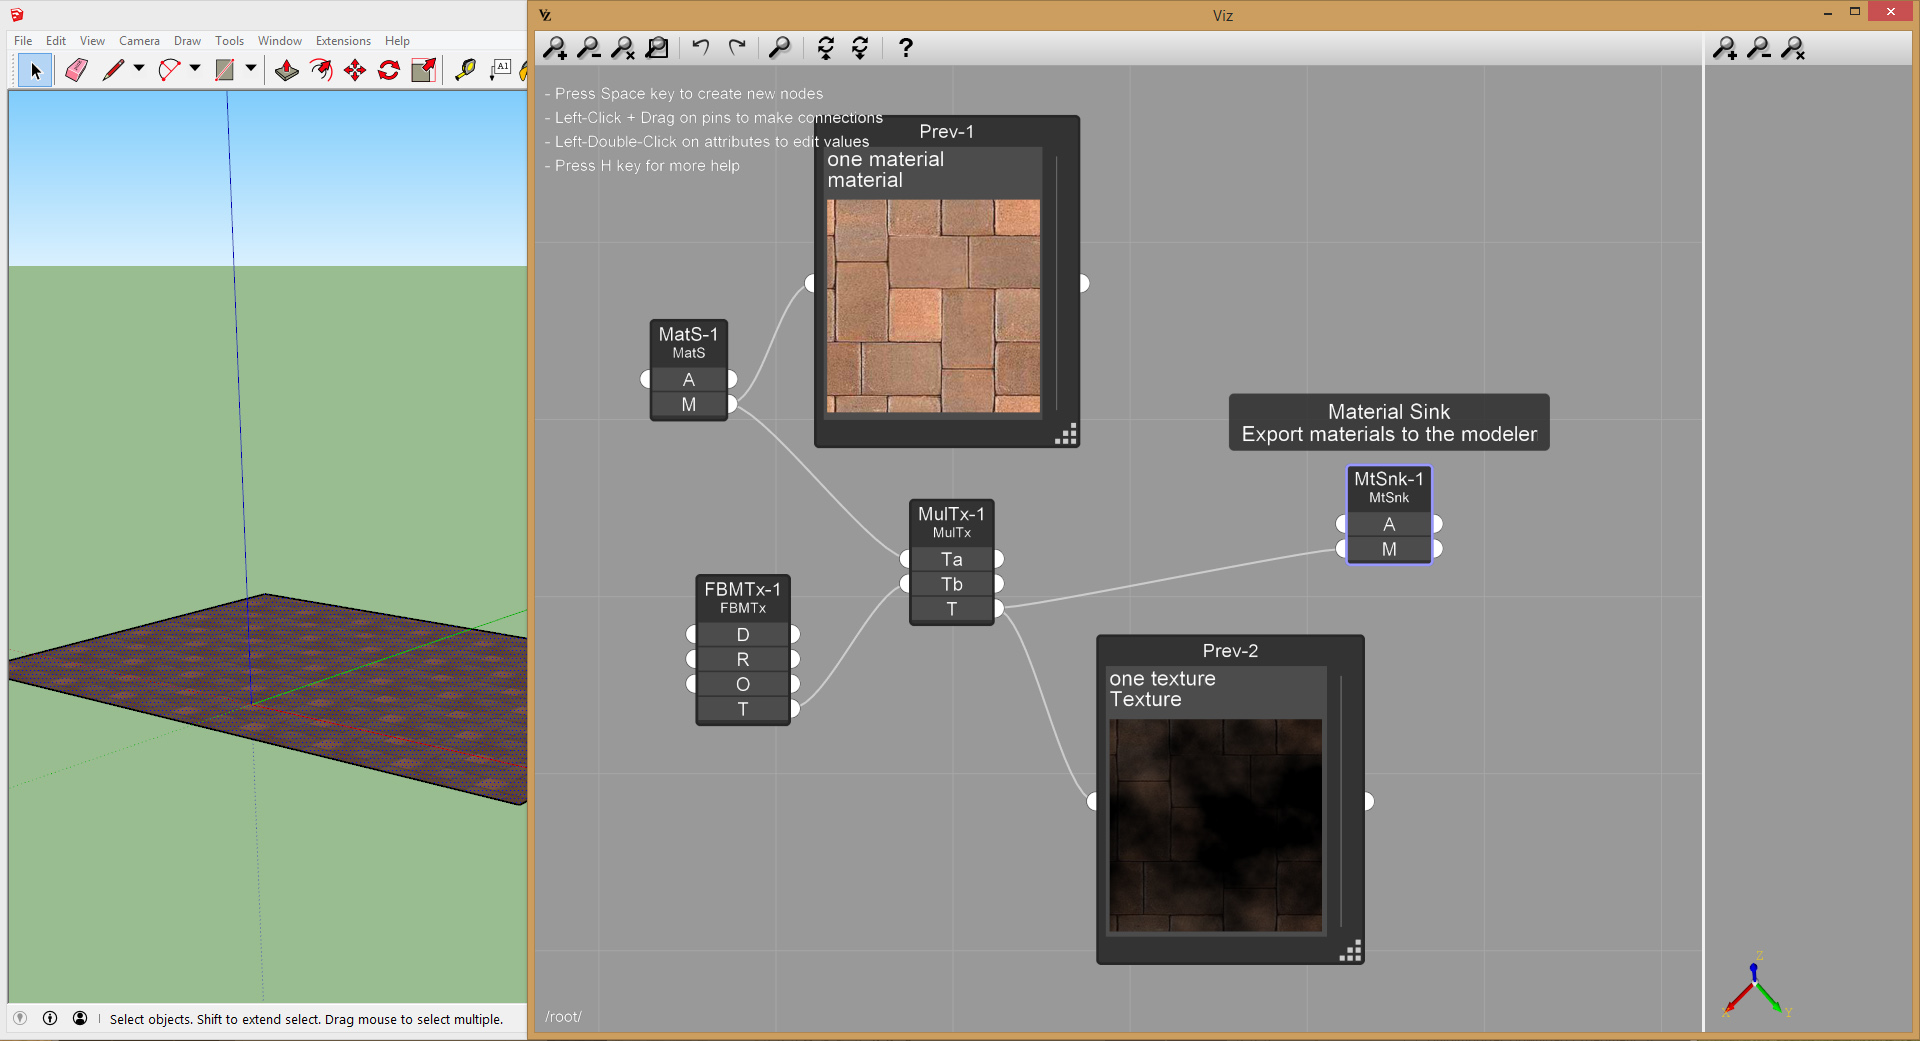
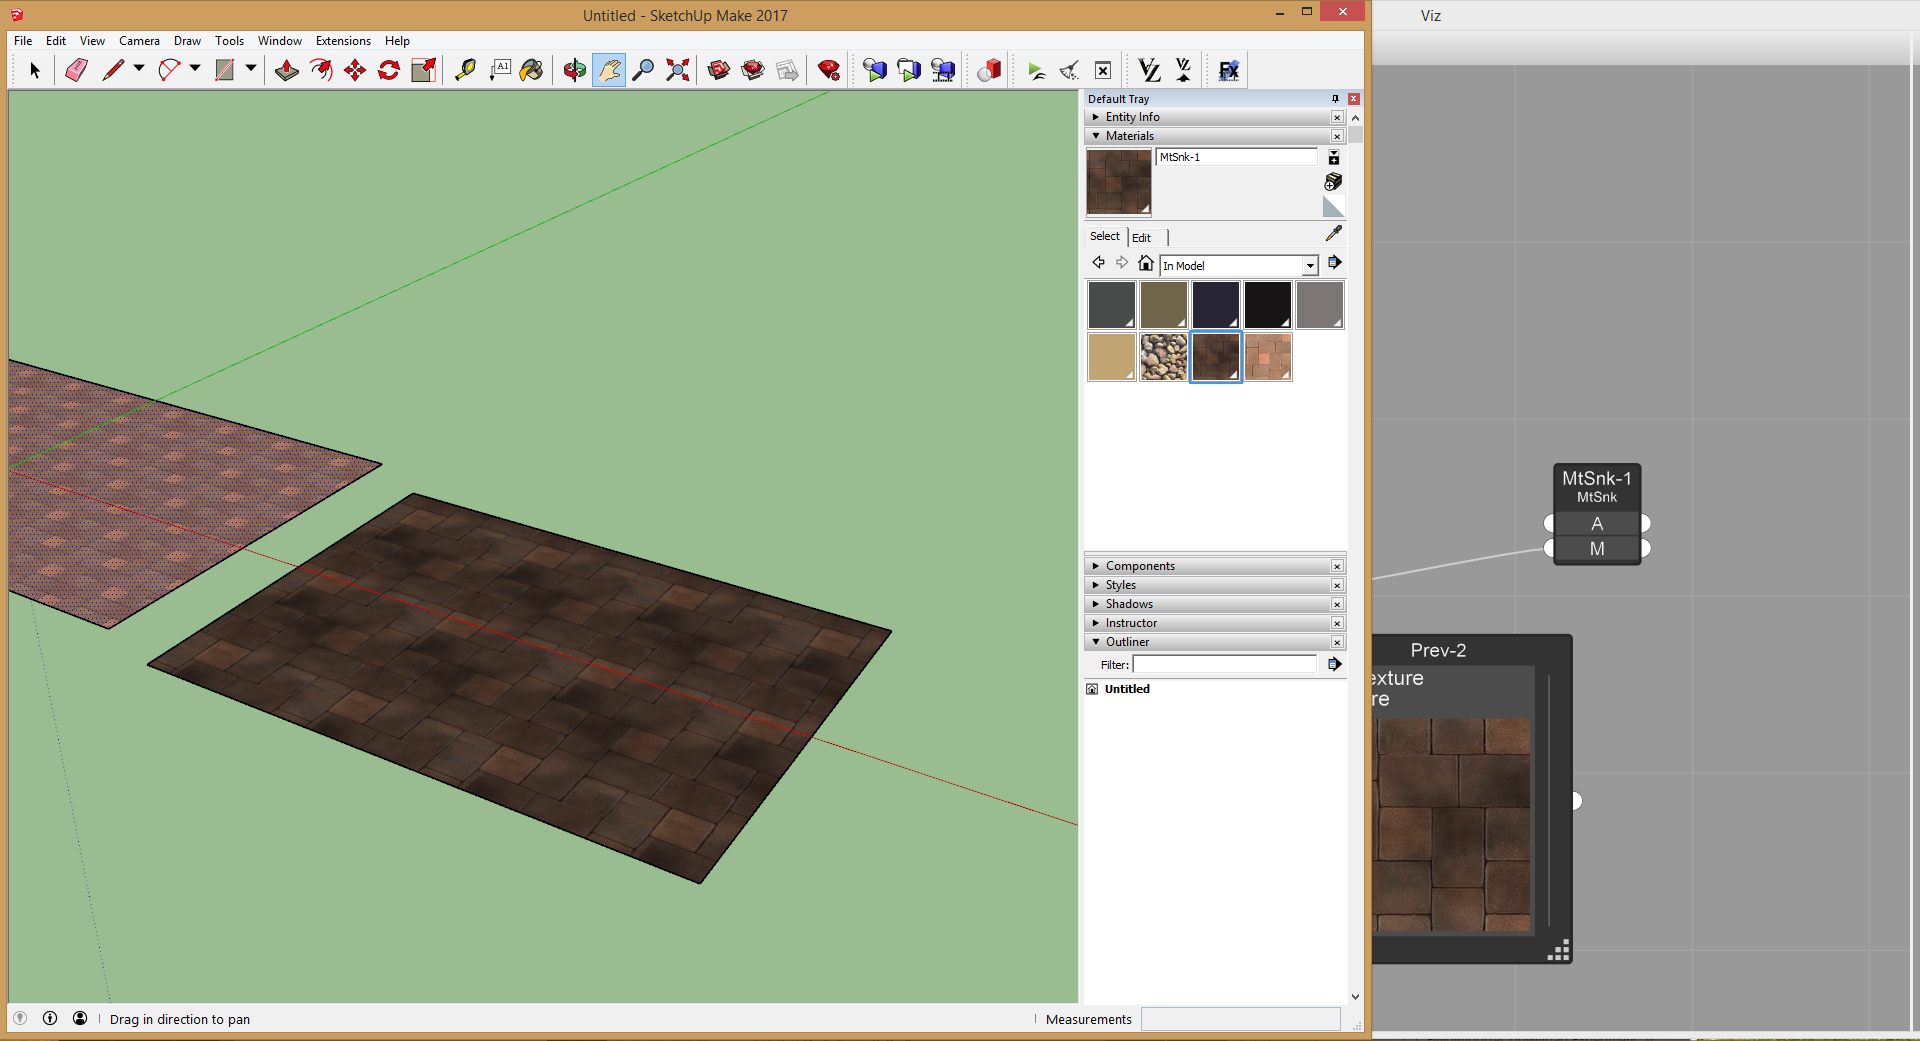
- Create a Material Sink node, to export the new material back to the model:
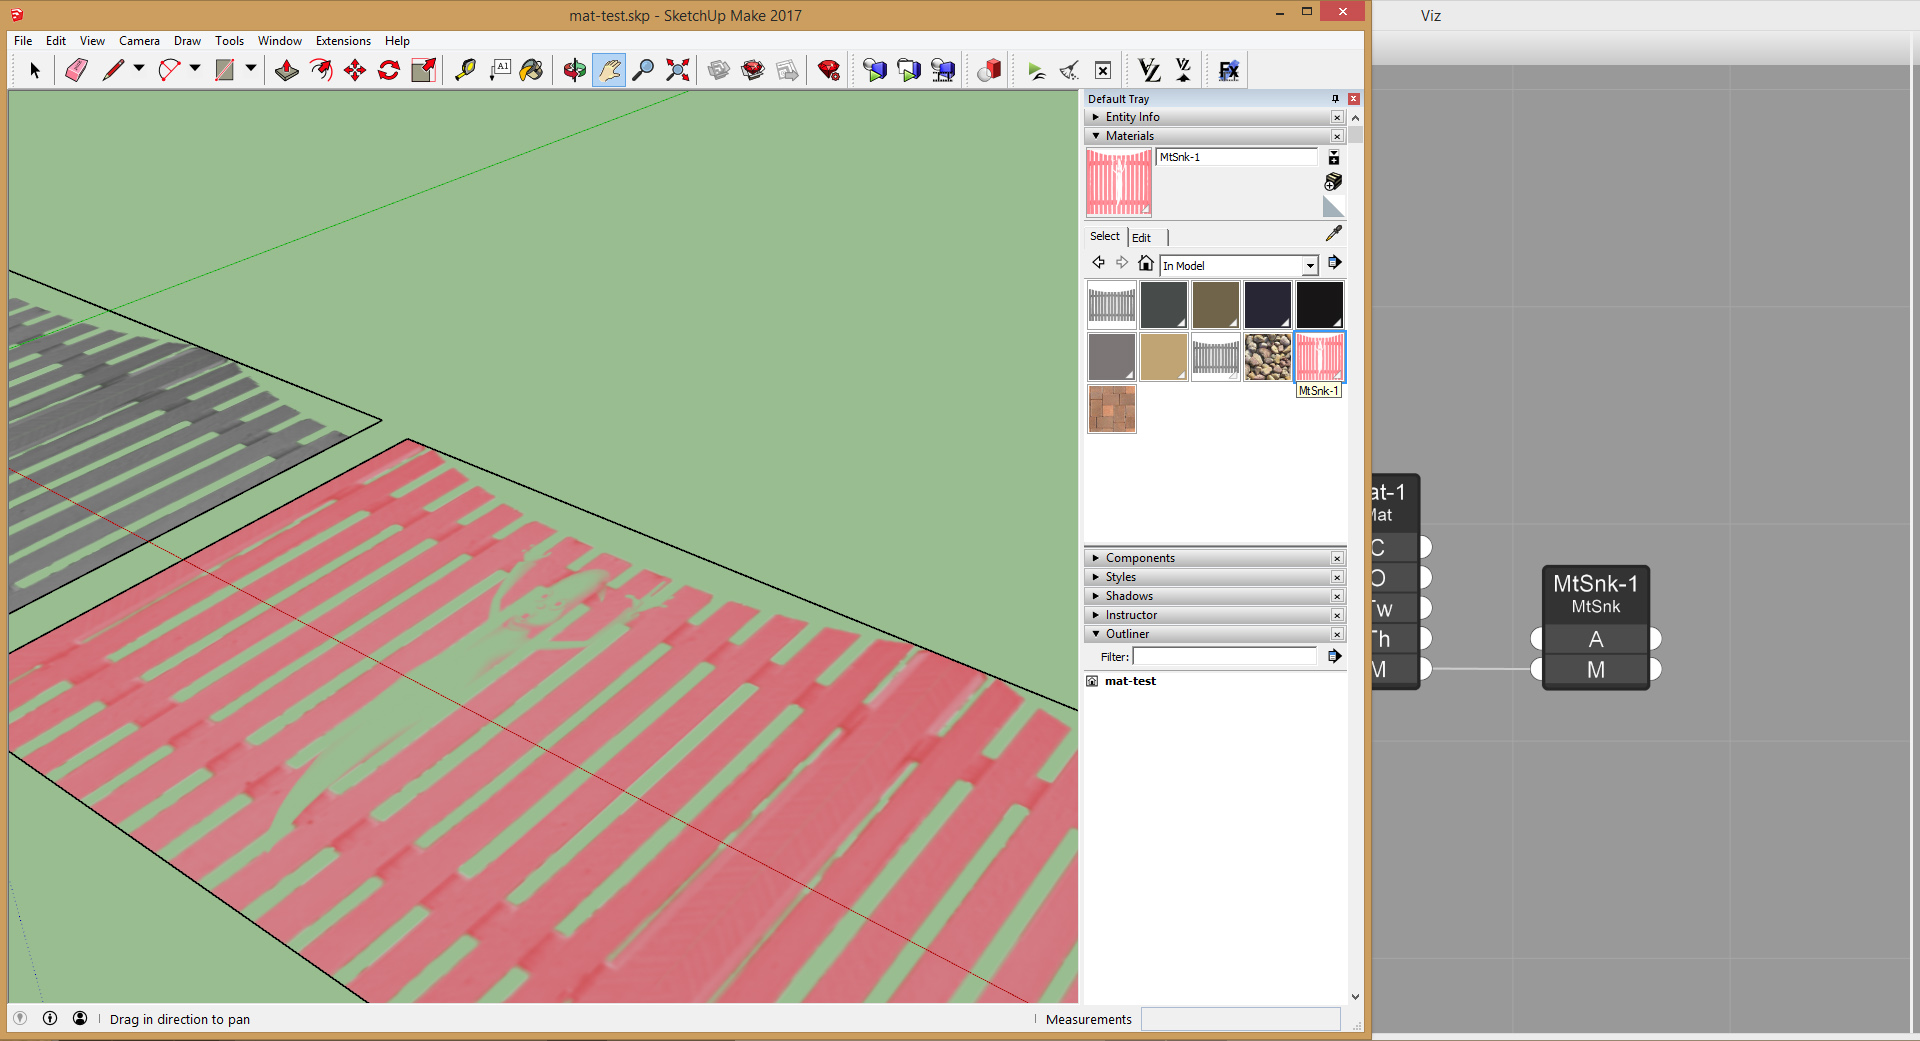
- You can now assign the exported material to a SketchUp entity, it will be available in the In Model material folder. Modifying the material parameters in Viz will update the SketchUp material on the fly:
It’s also possible to import and export transparent materials. Viz Pro treats the color channel and the opacity channel separately, so you can apply different effects to each one of them.
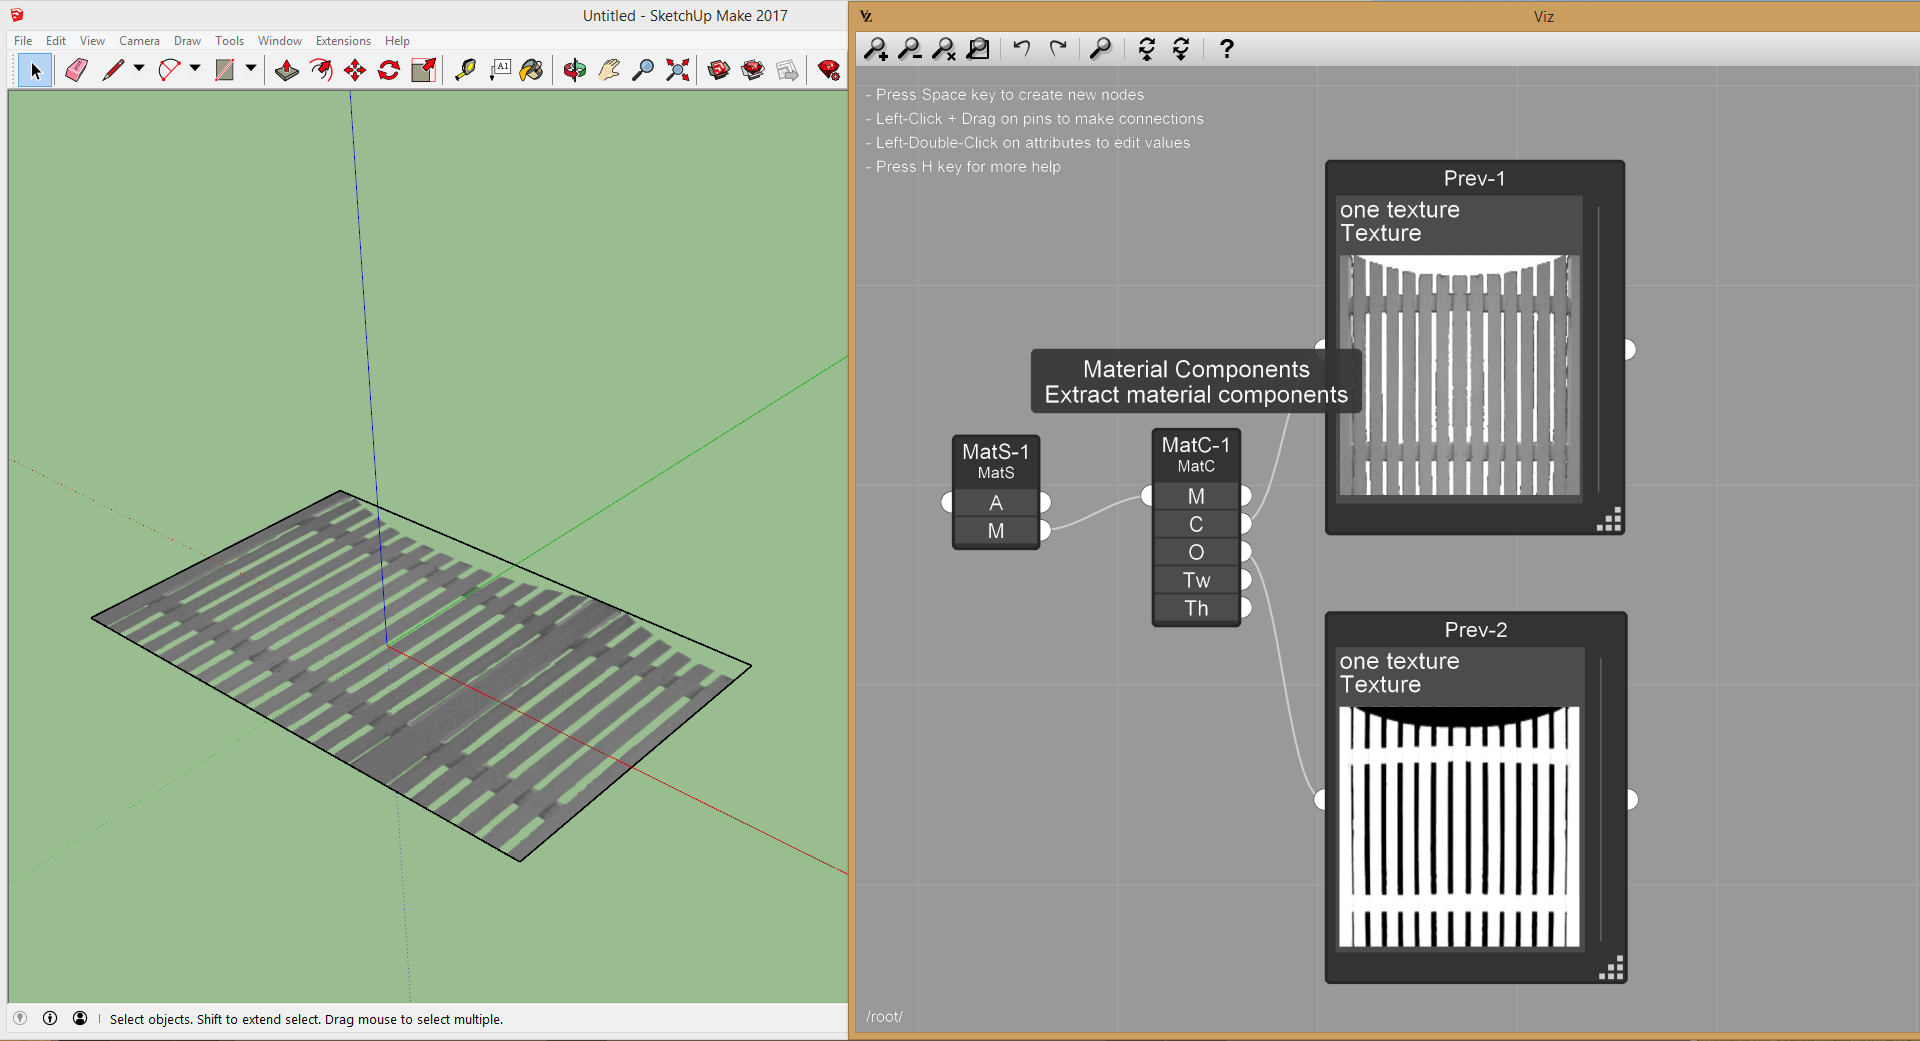
- Let’s import a material whose texture includes the opacity channel, and use the Material Components node to split them:
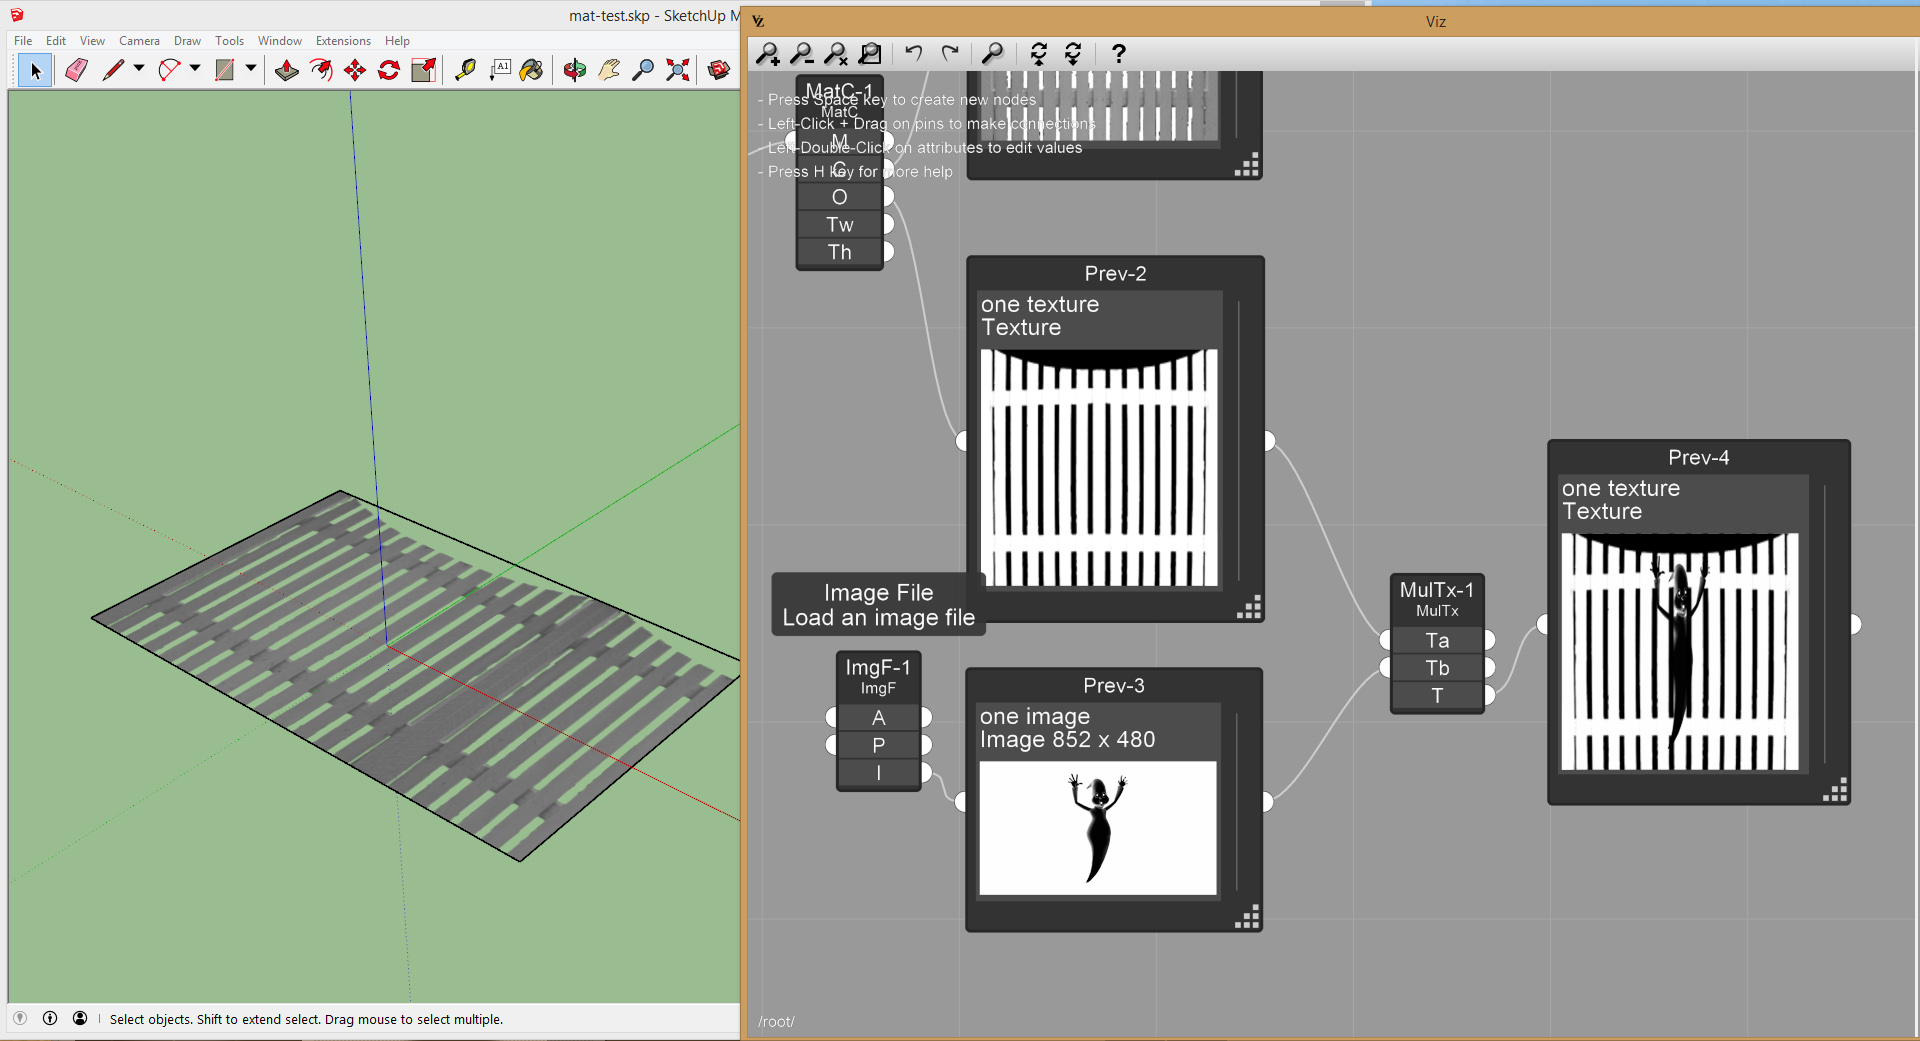
- Use the Image File node to read an opacity image from file and then use the Multiply Texture node to multiply the opacity image with the one from the original material:
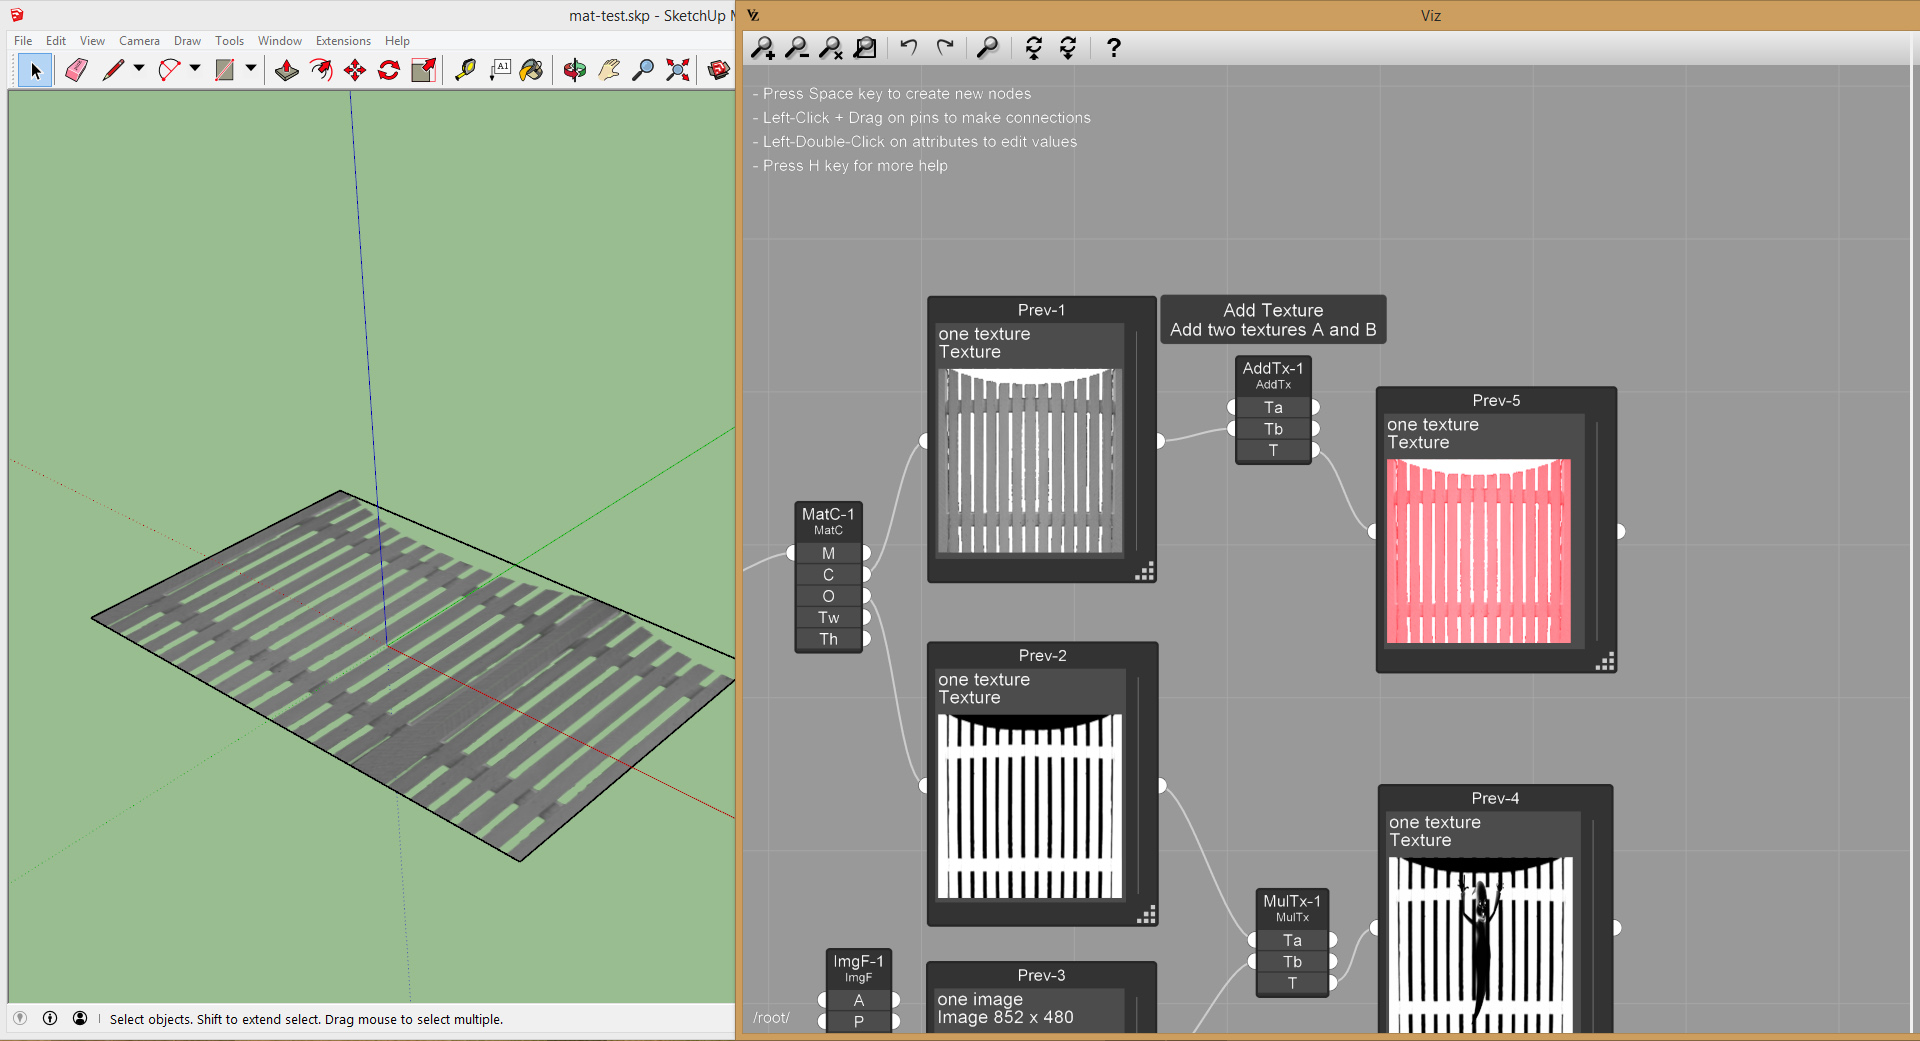
- Use the Add Texture node to add some color to the color channel:
- Use the Material node to combine the color channel and the opacity channel into one material, then use to Material Sink node to export the new material into the model:
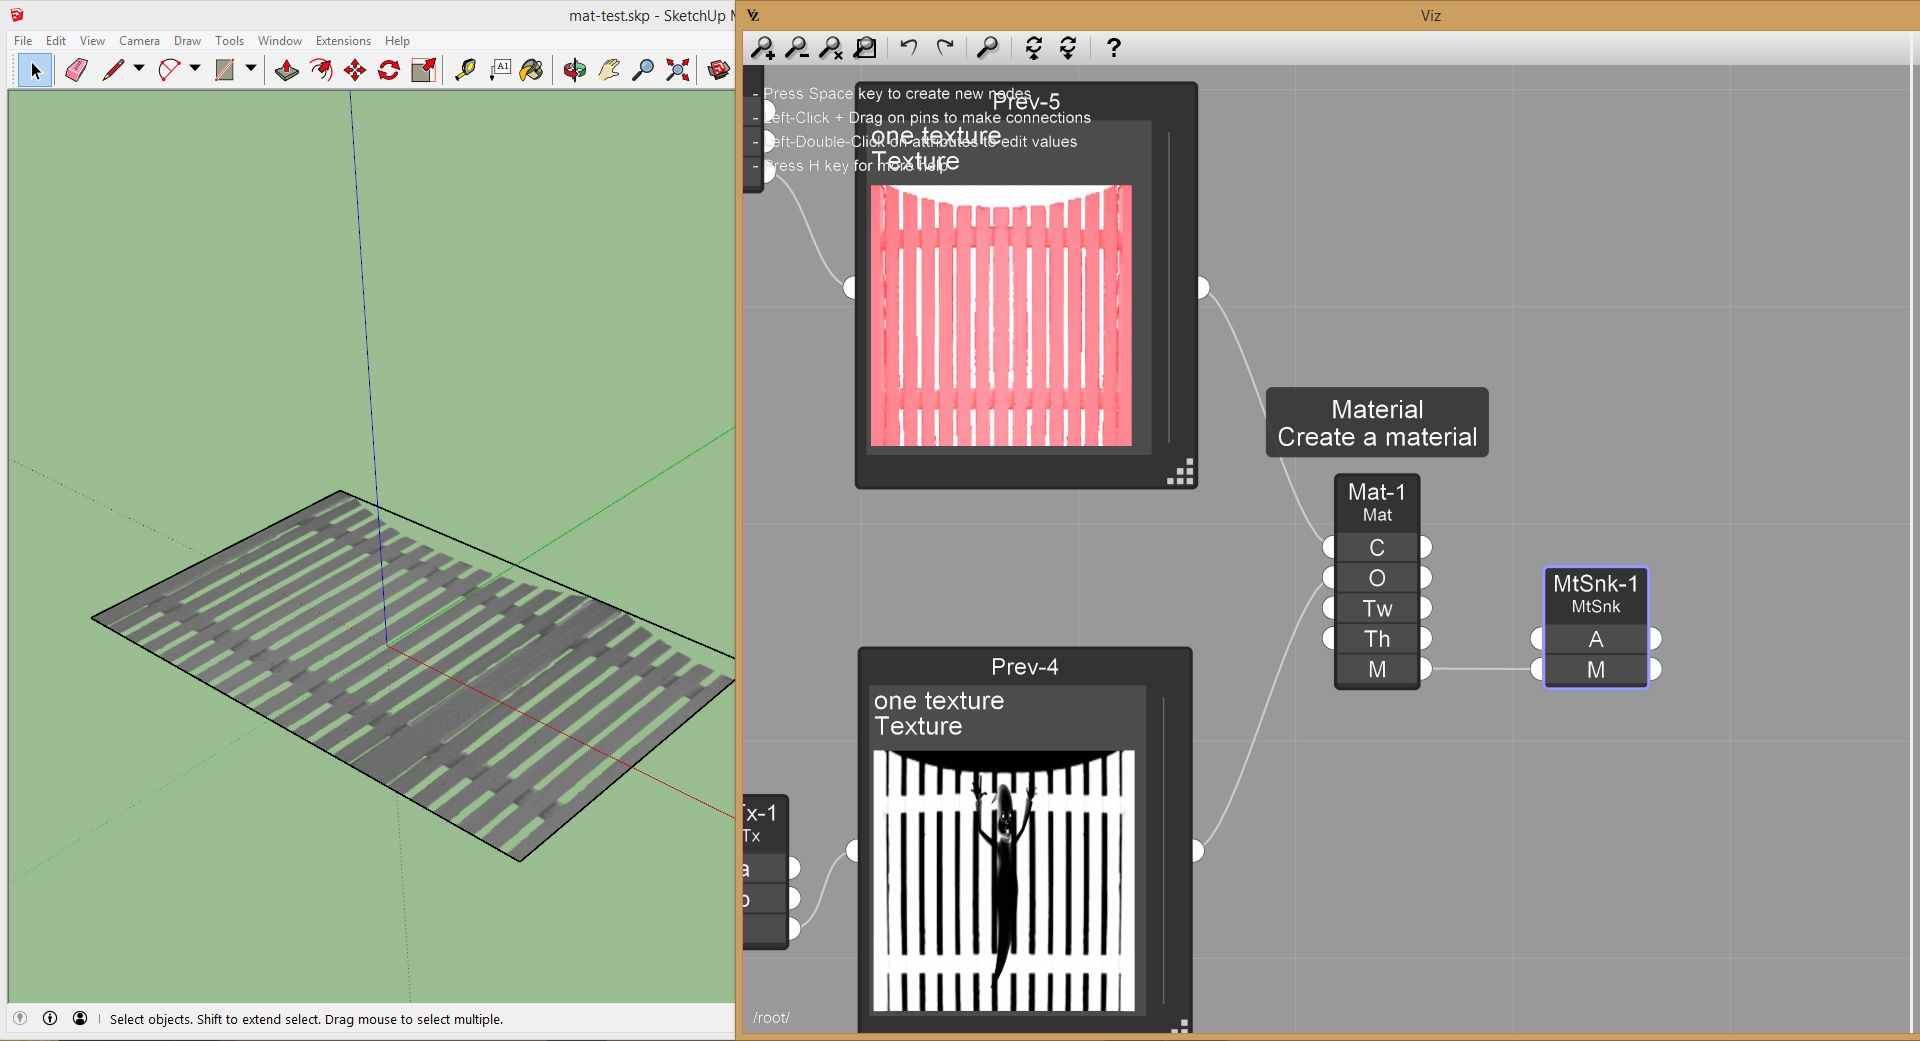
- You can now assign the new material to entities in the model: