
Getting Started with AmbientOcclusion for Revit
This documentation provides everything you need to use AmbientOcclusion for Revit effectively. It explains the interface, settings, workflows, and advanced features step by step. Whether you are a new or experienced user, this guide will help you understand the add-in and integrate it smoothly into your daily Revit work.
Video Tutorials
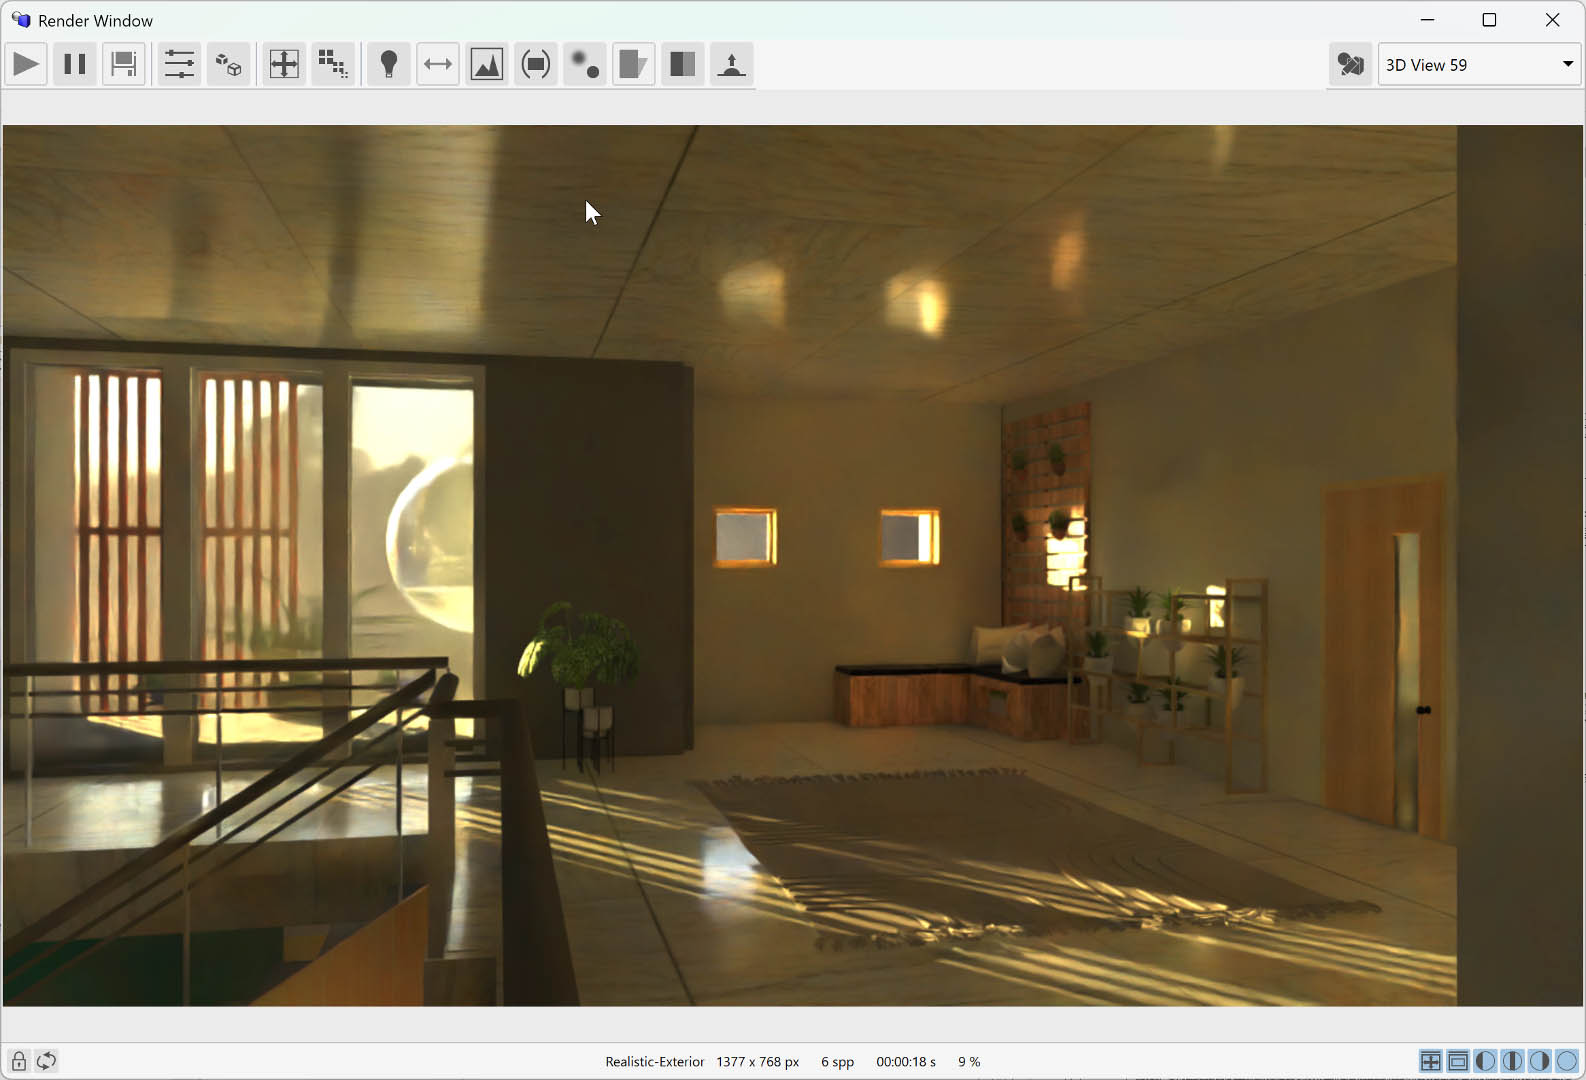
In this video, we will introduce AmbientOcclusion for Revit, a rendering add-in designed to help you create clear, realistic 3D visualizations of your Revit models with minimal setup.
In this video, we walk through all the render modes available in AmbientOcclusion for Revit and explain what each mode is designed for.
Revit Panel
You’ll find AmbientOcclusion for Revit inside the FluidInteractive panel inside Revit. Here you’ll find the following buttons:
| This is the main AmbientOcclusion button: it will open the render window | |
| Opens a dropdown menu with the following options: Help: Opens this documentation page in your web browser. Forum: Redirects you to the AmbientOcclusion community forums. Buy Now: Opens the webpage where you can purchase licenses. User Panel: Opens your user panel to manage subscriptions and downloads. License Information: Displays a window showing the current status of your license or trial version. |
Main Toolbar
| Start / resume rendering | |
| Pause rendering / stop scene extraction | |
| Save rendering image to file | |
| Open preset menu. See presets chapter for more information | |
| Choose rendering mode. See rendering mode chapter for more information | |
| Choose rendering resolution | |
| Choose rendering quality, in samples per pixel | |
| Overall rendering gain. This makes the rendering brighter or darker | |
| Occlusion distance: the higher, the darker you’ll see shadows due to ambient occlusion | |
| Open background settings. See background settings chapter for more information | |
| Open environment settings. See environment settings chapter for more information | |
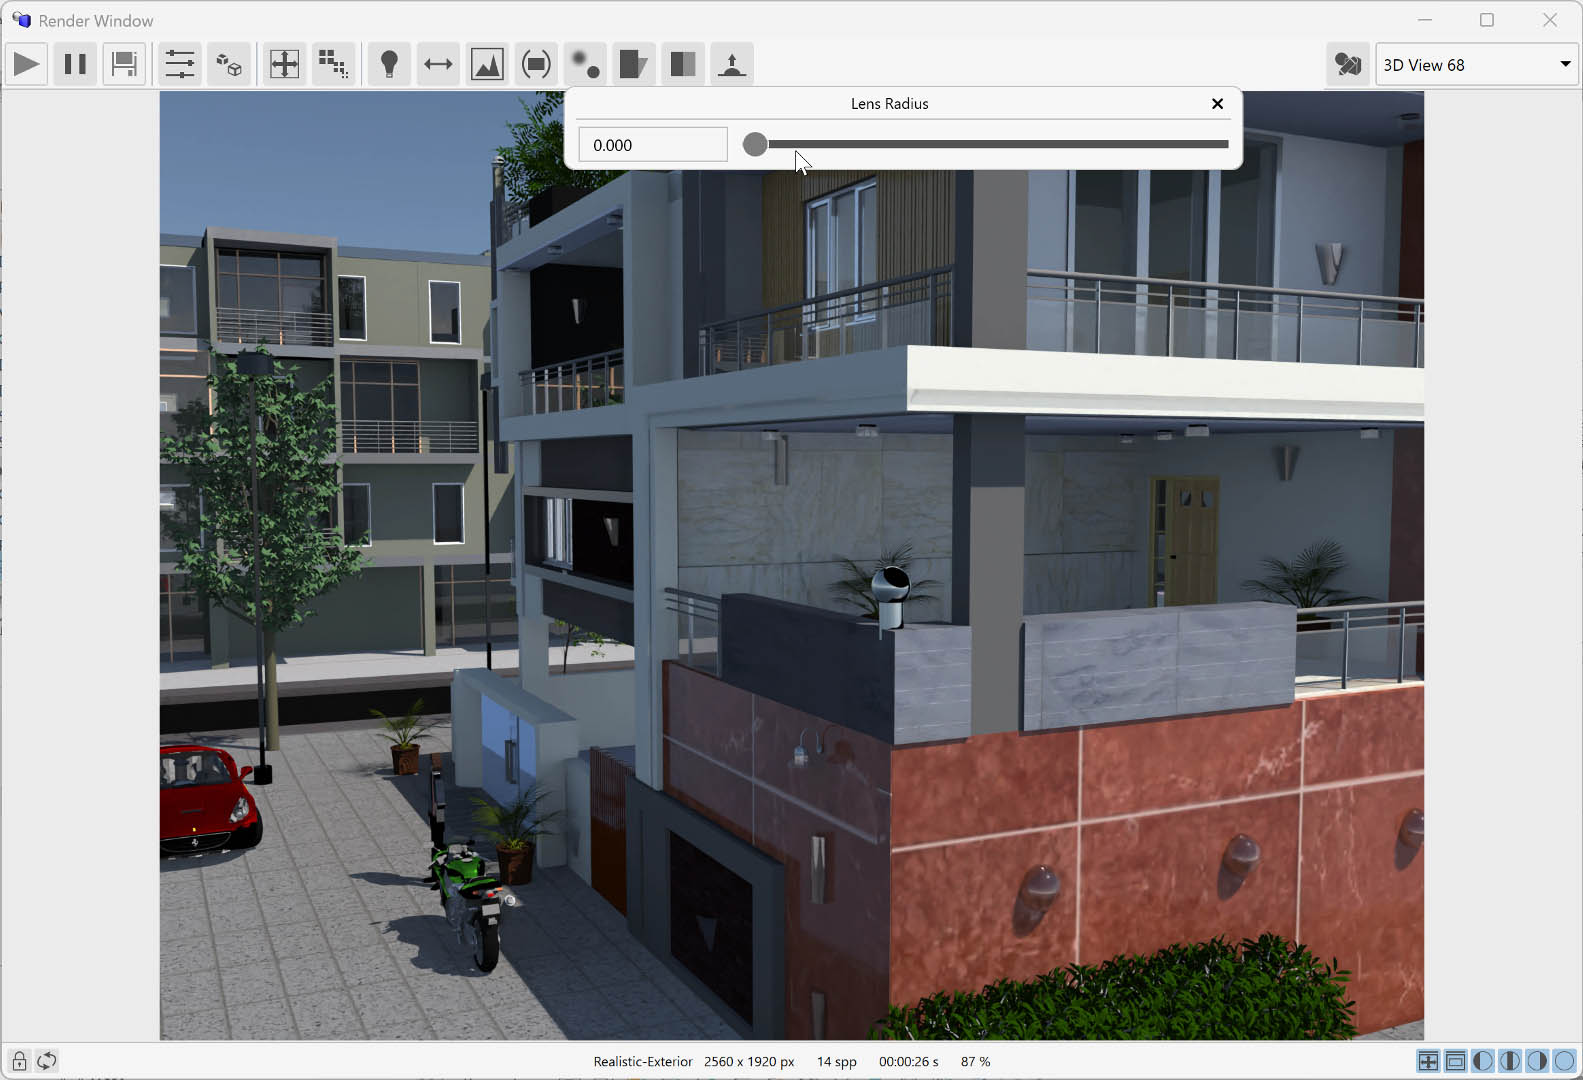
| Lens radius and position used for depth of field effect. See depth of field chapter for more information | |
| Open shadow settings menu. See shadow settings chapter for more information | |
| Opacity of the rendered objects: the lower, the more they will be transparent | |
| Bump scale: this increased or decreases the bump mapping effect of materials | |
| Open material editor: see material editor chapter for more information |
Secondary toolbar
| When enabled, changes to the view used for current rendering won’t make the rendering restart | |
| Clear cache and restart rendering; can be used if any change done to Revit’s document does not apply to current rendering | |
| Fit resolution to match current view’s aspect ratio | |
| Fit render image to window | |
| Toggle render image red channel | |
| Toggle render image green channel | |
| Toggle render image blue channel | |
| Toggle render image alpha channel |
Presets
Presets store all rendering settings in a single, reusable configuration that can be applied instantly. AmbientOcclusion includes several built-in presets, and users can create and save their own (with the “Save Preset As…” menu item) for different workflows or visual styles. This feature ensures consistency, speeds up setup, and makes switching between preferred looks effortless.
Rendering mode
AmbientOcclusion offers three rendering modes: Black & White, Colored, and Global Illumination. The first two use fast, simplified algorithms ideal for quick studies and clear visual communication. Global Illumination provides a slower but far more realistic result, accurately simulating light behavior for high-quality, presentation-ready images.
Background settings
In this menu, you’ll find the following items:
- Uniform Color: This color is used as the background when use uniform color is enabled.
- Background Gain: Adjusts the brightness of the background.
- Download Backgrounds: Allows you to download additional background images from the internet.
- Backgrounds Folder: Opens the folder where AmbientOcclusion stores and searches for available background images.
- Use Uniform Color: When enabled, the selected uniform color is used as the background.
- Use Environment: When enabled, the environment image is used as the background. See the environment settings chapter for details. Note that orthographic views always display a uniform color instead of the environment image.
Environment settings
An environment is a 360° image surrounding the scene, used as light source. It can be used also as background if use enviroment option is active in background settings. It provides realistic illumination, reflections, and overall atmosphere, greatly enhancing the rendering’s realism. By using an environment, the scene inherits natural lighting conditions without the need for complex manual light setups.
In this menu, you’ll find the following items:
- Uniform Color: This color is used as the background when use uniform color is enabled.
- Environment Gain: Adjusts the brightness of the environment.
- Rotation: Adjust the environment rotation.
- Download Environments: Allows you to download additional environments from the internet.
- Environments Folder: Opens the folder where AmbientOcclusion stores and searches for available enviroment images.
- Use Uniform Color: When enabled, the selected uniform color is used as the background.
Depth of field
AmbientOcclusion includes a depth of field effect, controlled by two parameters: lens radius, which defines the strength of the blur (larger values increase the effect), and lens position, which sets the focus point in the scene.
Shadow settings
In AmbientOcclusion, when not using Global Illumination mode, the rendering includes both environment shadows and the sun shadows defined by Revit’s sun settings. This menu provides three controls:
- Enabled — Toggles the Revit sun shadows on or off.
- Contrast — Adjusts how strong or pronounced the shadows appear.
- Softness — Controls how sharp or diffused the shadow edges are.
These settings help refine lighting clarity and enhance overall scene readability.
Material editor
The Material Editor in AmbientOcclusion allows you to override Revit materials easily by matching their names through several flexible methods. This makes adjusting rendering results fast and intuitive. You can fine-tune colors, reflections, emission, and other properties, ensuring full control over how materials appear in the final render.
In the Material Editor, the list on the left defines material overrides, applied from top to bottom. Each entry replaces matching Revit materials with the properties you set. You can reorder, add, clone, or delete items to customize how materials are prioritized and rendered.
| Create a new material | |
| Clone selected material | |
| Delete selected material | |
| Move selected material up in the list. This will give more precedence to this material while matching with Revit’s materials | |
Move selected material down in the list. This will give less precedence to this material while matching with Revit’s materials |
Material Types Documentation
Properties Common to All Materials (except Auto)
Enable custom opacity control. When disabled, the material uses full opacity.
Controls material transparency. 0.0 = fully transparent, 1.0 = fully opaque (default: 1.0).
Controls surface bump intensity.
Color of emitted light.
Intensity of emitted light.
1. Diffuse
Basic diffuse material with no special properties beyond common ones.
Use Case: Matte surfaces without reflections (concrete, fabric, etc.)
2. Glossy
Reflective material with controllable roughness.
Surface roughness: 0.01 = mirror-like, 1.0 = very rough.
Directional reflection pattern.
Enable custom glossy color.
Reflection tint color.
Use Case: Polished surfaces, glossy paint, varnished wood.
3. Glossy Diffuse
Combines glossy reflection with diffuse base.
Use Case: Semi-glossy surfaces with diffuse component.
4. Plastic
Plastic material with coating layer.
Refractive index of coating layer (default: 1.4).
Use Case: Plastic materials, coated surfaces.
5. Metal
Metallic material with physical conductor properties.
Complex refractive index (real part).
Complex refractive index (imaginary part).
Quick presets for common metals (Aluminum, Brass, Copper, Gold, Iron, Lead, Mercury, Platinum, Silver, Titanium, Stainless Steel).
Use Case: Metal surfaces (aluminum, copper, gold, etc.).
Metal Presets
| Metal | Index | Absorption | Color (RGB) |
|---|---|---|---|
| Aluminum | 1.0972 | 6.7942 | (0.91, 0.92, 0.92) |
| Brass | 0.46192 | 3.1350 | (0.88, 0.78, 0.50) |
| Copper | 0.46094 | 2.9735 | (0.95, 0.64, 0.54) |
| Gold | 0.27035 | 2.7790 | (1.00, 0.84, 0.00) |
| Iron | 2.9304 | 2.9996 | (0.56, 0.57, 0.58) |
| Lead | 1.9076 | 3.4376 | (0.54, 0.56, 0.58) |
| Mercury | 1.7442 | 4.9207 | (0.90, 0.90, 0.92) |
| Platinum | 2.1880 | 3.9285 | (0.83, 0.81, 0.78) |
| Silver | 0.15016 | 3.4727 | (0.97, 0.96, 0.91) |
| Titanium | 2.6112 | 3.6024 | (0.76, 0.73, 0.69) |
| Stainless Steel | 2.1849 | 3.8885 | (0.78, 0.78, 0.78) |
6. Specular
Perfect mirror-like reflection or refraction.
Use Case: Perfect mirrors, ideal glass.
7. Thin Dielectric
Thin transparent material (no volume).
Refractive index (default: 1.5 for glass).
Virtual thickness for absorption calculation.
Use Case: Thin glass, film, single-surface transparency.
8. Thick Dielectric
Volumetric transparent material.
Use Case: Thick glass, water, transparent volumes.
9. Auto
Automatic material detection based on Revit material properties.
Note: No manual properties available. Material characteristics are automatically determined.
Use Case: Let the system automatically choose appropriate material type based on Revit data.
Emission Presets
| Preset | Power | Color (RGB) |
|---|---|---|
| Neutral | 10.0 | (1.0, 1.0, 1.0) |
| Neutral Powerful | 100.0 | (1.0, 1.0, 1.0) |
| Warm | 10.0 | (1.0, 0.7, 0.4) |
| Warm Powerful | 100.0 | (1.0, 0.7, 0.4) |
| Cool | 10.0 | (0.85, 0.93, 1.0) |
| Cool Powerful | 100.0 | (0.85, 0.93, 1.0) |
Matching Criteria
Materials can be matched to Revit materials using the following criteria:
- Name Includes: Material name contains the specified text
- Name Is: Material name exactly matches the specified text
- Name Includes All: Material name contains all specified words (space-separated)
- Name Includes Any: Material name contains any of the specified words (space-separated)
- Always: Always apply this material (use as default)
- Never: Never apply this material (disabled)